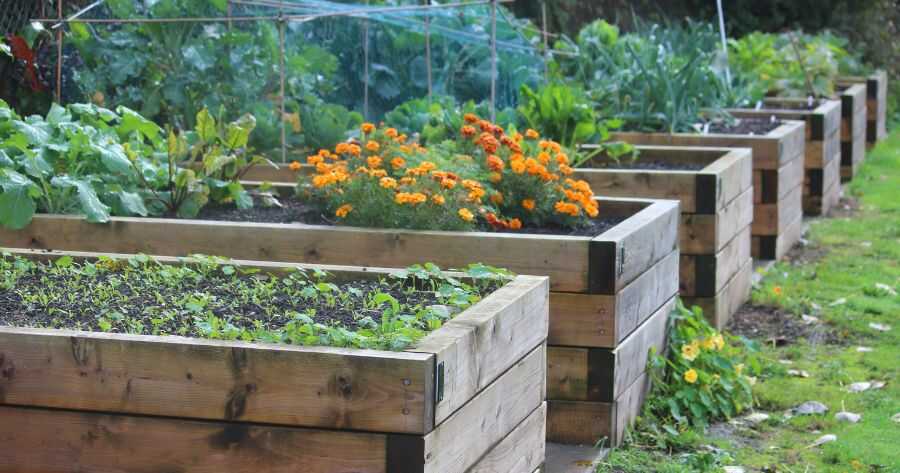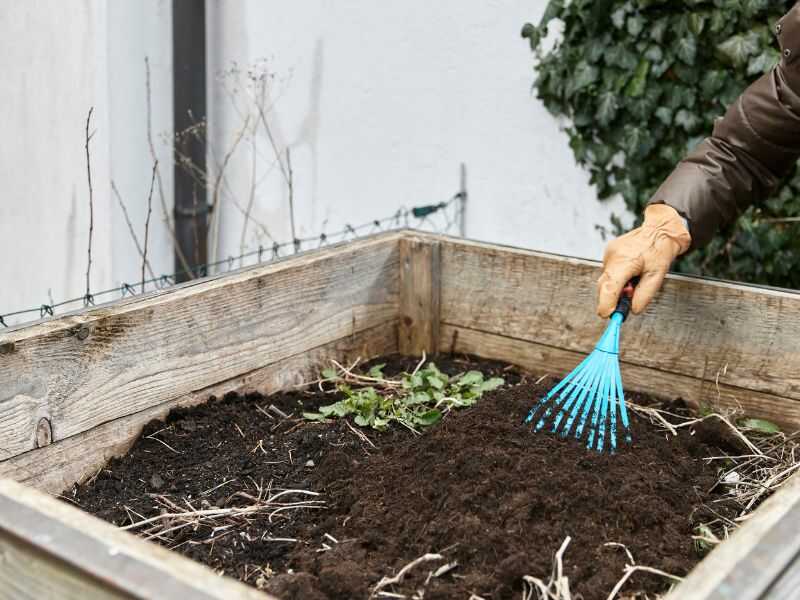
Creating and build a raised garden bed is a great way to get a head start on spring and plant your first crop earlier than usual. You can also use raised beds to grow vegetables and herbs in areas where the soil is not ideal or you have limited space. They are basically boxes filled with dirt or another material that raises the plants off the ground by a few inches.
This simple structure makes it easy to add soil, remove weeds, and water without getting messy or hurting your back. Raised bed gardens are perfect for small spaces and urban dwellers who don’t have a backyard. They take hardly any time to set up, require very little maintenance and are great for growing just about anything! Read on for all you need to know about how to build a raised bed garden of your own.
How to Build a Raised Bed - All You Need to Know

What You’ll Need to Make Raised Garden Bed
What kinds of materials and tools do you need to properly construct a raised bed at home for your garden? If you have been gardening for a significant amount of time, you probably already have everything you need in your home without ever realising it. The most significant ones are included on the list that follows.- A shovel to dig out the ground
- A measuring tape to measure the size of your garden
- Organic potting soil or topsoil
- A garden trowel
- Seeds or seedlings
- A watering can
- Stakes
- Garden clogs or rubber boots
- A rake for removing weeds
- A cover for your garden if you live in a cold climate
Step 1: Decide on a Location and Size

Before you get started, you must first pick where you want to place your raised bed. Ideally, you should plant it in a well-drained, sunny location where you can readily reach it and water it. If you live in a rainy area, you may want to build your garden on a modest slope so that water can readily drain away from it.
Raised beds can also be created in a greenhouse or indoors; however, they will require more attention and irrigation than outdoor gardens. Before you begin developing your garden, you must first determine the size of the bed. Make your raised bed at least 16 inches broad and long, and at least 2-3 inches tall, so the plants do not sit in water or soil.
Step 2: Add the Bottom Layer

The bottom layer of your garden bed will be the area where you’ll add the soil. To make sure the soil stays where it’s supposed to, you can put down a layer of cardboard and then cover it with at least 2 inches of organic mulch like grass clippings, shredded leaves, or compost.
While you can use any type of soil to fill your garden bed, loamy soil, sandy loam, or clay loam are the best options for growing vegetables and herbs. Avoid using soil that is heavy in clay or silt, as it may compact and make it harder to water and take care of your plants.
Step 3: Add the Side Material

The next layer you’ll add to your garden beds is the side material. This is the layer that will help hold the dirt inside the bed, while also providing an easy way to add more soil as your plants grow. Some great options for side materials include landscaping stones, bricks, boards, or anything else that is sturdy and won’t fall apart in a few years.
If you plan to add a board as your side material, you can also paint, stain, or cover it with natural fabrics like burlap or cloth to make it look nicer and help the plants grow. This layer can also help support any taller plants, like tomatoes, once they start growing.
You may construct raised beds in your vegetable garden in a variety of ways, using a wide variety of materials, and there are a lot of different ways to do it. It is also up to your own imagination and how it relates to the ideas that have been suggested by other gardeners. The following is a list of ideas and components that can be easily fabricated anyplace.
- Concrete block
- On a slope
- Frame
- With bricks
- Against a fence
- With wood
- With sleepers
Step 4: Add the Final Touch
The final touch you’ll add to your raised bed garden is the edging. Edging is the decorative material that you place around the outside of the bed to keep the dirt from spilling out and make it look nice. Edging comes in many materials like metal, wood, plastic, and even fabric, so you can choose whatever you prefer.If you live in an area with lots of rain, snow, or high winds, you might want to put a board on the inside and outside of your garden bed to help hold the dirt in. Doing this will also make it easier to water your plants, since the water won’t splash outside of the garden bed and make a mess.
Step 5: Care to Enhance Your Raised Bed Garden
You can enhance your raised bed garden in a few ways, depending on the type of plants you decide to grow. Vegetables like tomatoes and peppers need lots of sunlight and consistent warmth, so you can put a shade cloth over the top of your garden to give them extra light.You can also add a layer of mulch around your plants to keep the ground warm, provide nutrients, and prevent weeds from growing. Herbs like mint and sage grow best in full sunlight and can actually be damaged if you put a shade cloth over their garden. You can enhance their garden by giving them additional water and nutrients with compost, coffee grounds, or fertilizer.
Step 6: Plant your vegetables and herbs!
Now that your garden is built, it’s time to plant! Make sure you choose a variety of plants that will grow well together and can be planted at the same time. You don’t want to put plants like tomatoes and peppers together, since they have different soil, sun, and water requirements.When planting your garden, make sure you leave enough room between the plants so they have plenty of room to grow. You don’t want them to crowd each other out or be too close to the edge of the bed where they can easily fall out. If you’re not sure how much space each plant needs, you can reference this planting chart.
Raised Bed Gardening Tips

Keep in mind that when you build a raised garden bed, you are creating a mini ecosystem. This means you will have to do a bit of maintenance to keep everything running smoothly. Here are a few tips to keep in mind as you garden.
1. Make sure to water your plants at least once a week.
2. If you live in an area that gets lots of rain, you may not need to water your garden bed every week.
3. If you notice the plants looking wilted or droopy, be sure to water them as soon as possible so they don’t die.
4. If you notice pests like slugs or snails, or weeds in your garden bed, be sure to remove them as soon as possible to prevent them from damaging your plants.
5. You can also add a layer of mulch around the plants to prevent weeds from growing.
6. It’s best to start planting your garden about 6-8 weeks before the first frost. This gives your plants plenty of time to grow and you time to harvest them before the cold weather arrives.
7. If you live in a cold climate and want to plant a raised garden bed, you can cover it with a cover like a tarp or blanket to keep the plants warm enough to grow.
Read : How to Grow Ginger - A Step by Step Guide
Conclusion
Raised bed gardens are a great way to grow your own vegetables and herbs without having a large garden space. They are also a good option if you don’t have good soil in your backyard. Raised bed gardens are fairly easy to create and maintain, and they’re a great way to start gardening.To build your own raised garden bed, you’ll first need to decide where to put it, what materials you want to use, and how big you want it to be. Once you’ve finished building the bed, it’s time to plant your seeds or seedlings and get growing! - Garden Lot
Tags:
Garden
